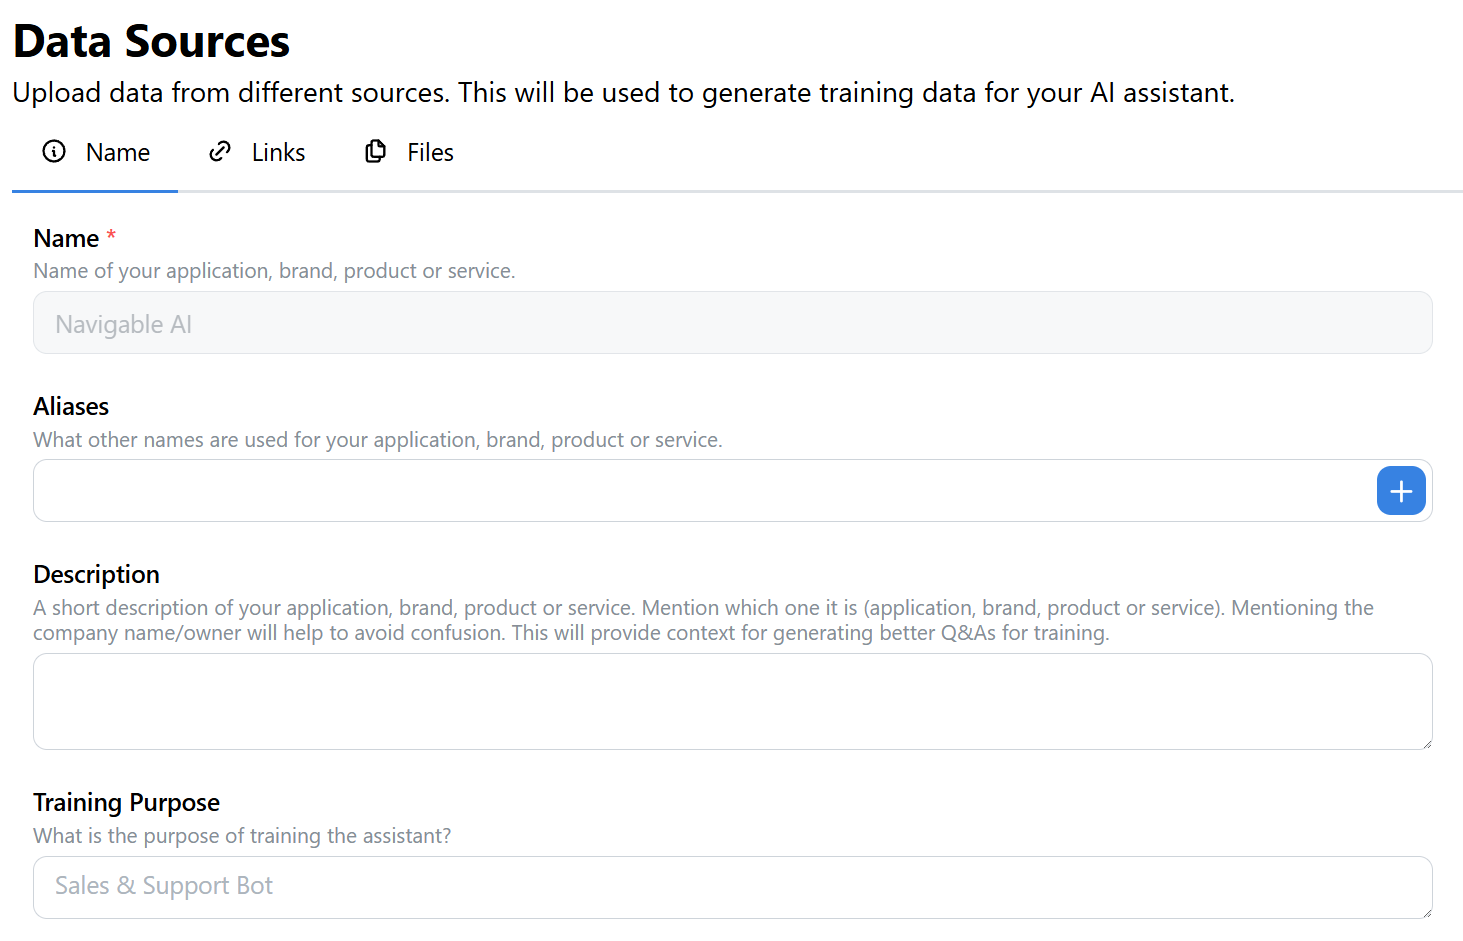
App Name
The Name is the identifier for the application, website, brand, product or service that your AI assistant will be trained on. Setting the Name ensures that all the data collected and processed during the training is associated with the correct context.
Once the Name is set, you can proceed to upload links and files related to the app, which the Navigable AI will use to generate questions and answers for training the model.
In addition the the name, you can also provide aliases in case you are known by multiple names.
Provide a short description of your app, website, brand, product or service. Mention which one it is (application, brand, product or service). Mentioning the company name/owner will help to avoid confusion. This will provide context for generating better Q&As for training.
You can also state the purpose of training the assistant. For example: Sales & Support Bot.
Set the App Name
You can skip step 1 if you're already on the Data Sources page.
-
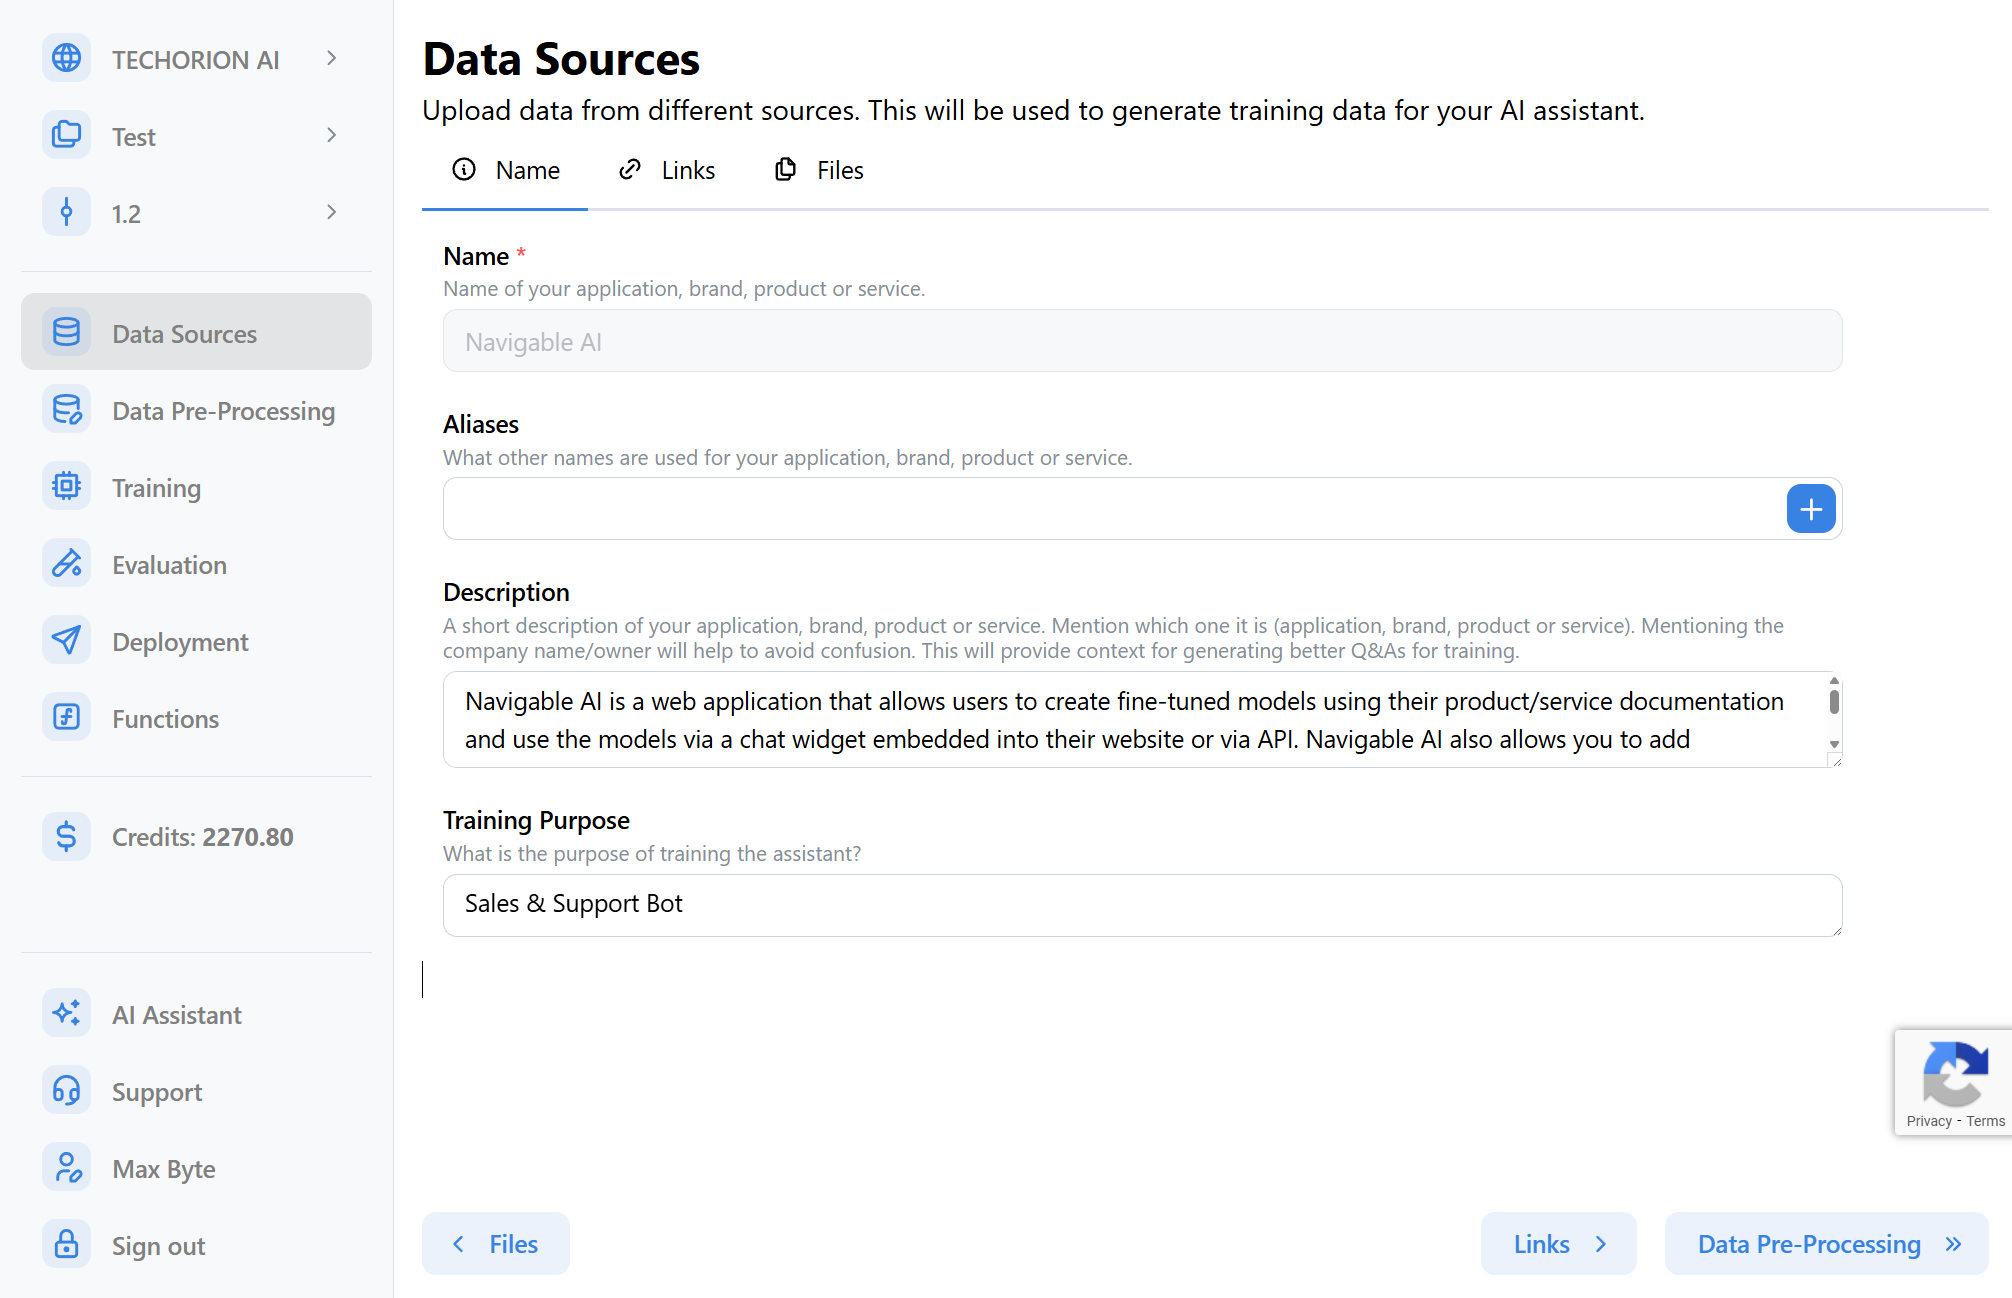
Go to the Data Sources page by clicking on the Data Sources button on the left side of your screen.
-
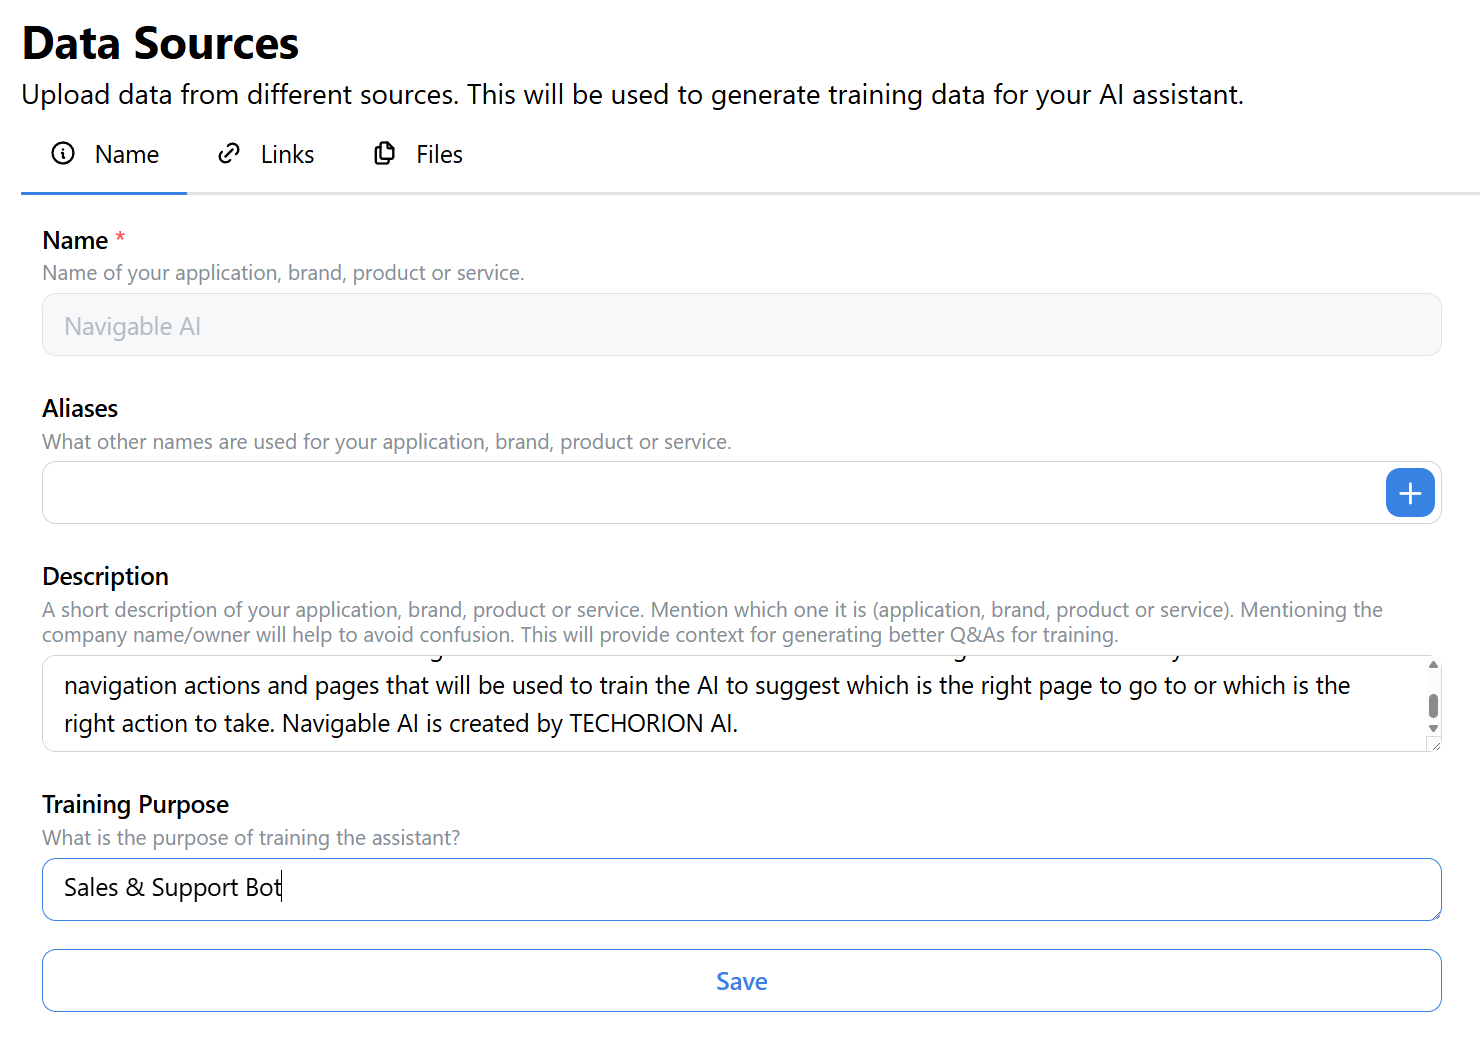
Click on the App Name tab.
-
Enter the App Name in the App Name field.
-
You can also fill in your description, purpose and aliases.
-
Click on the Save button.
If you got a notification saying the app name was saved successfully, you're all set!

What happens when you set the App Name?
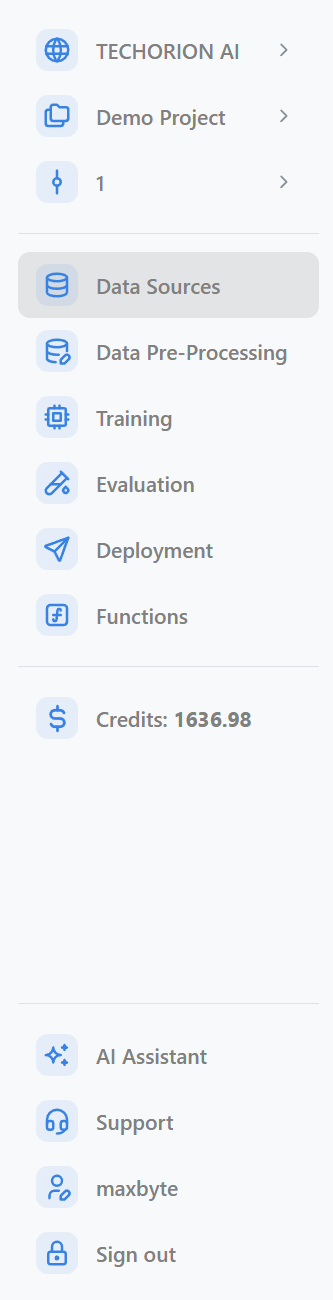
Once the app name is set, the rest of the project features will be available for you to use.
-
The navigation panel on the left should look like this:
-
Navigation buttons will be visible at the bottom of your screen to help you navigate between pages within your project.
- Next and Previous buttons will allow you to navigate between tabs on the page.
- Next Section and Previous Section buttons will allow you to navigate between pages within your project in logical order.
-
The Data Sources page will now have tabs for adding Links and Files.

What next?
You can now add links and files to your project. Simply click on the Next button in the bottom right corner of your screen to get started.