Organizations
In Navigable AI, an organization acts as the central workspace where you manage your projects and teams.
Create an Organization
If you're not an admin, you can look at the Join an Organization section if you've received an invite via email.
To create an organization, follow these steps:
-
Go to the select organization page.
-
Click on the Create Organization button. This will take you to the create organization page.

-
Enter the name of your organization and click on the Create Organization button.
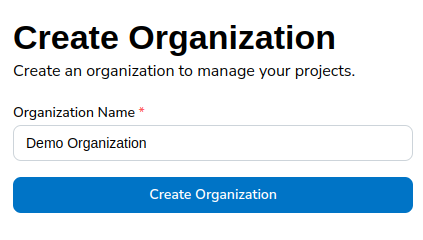
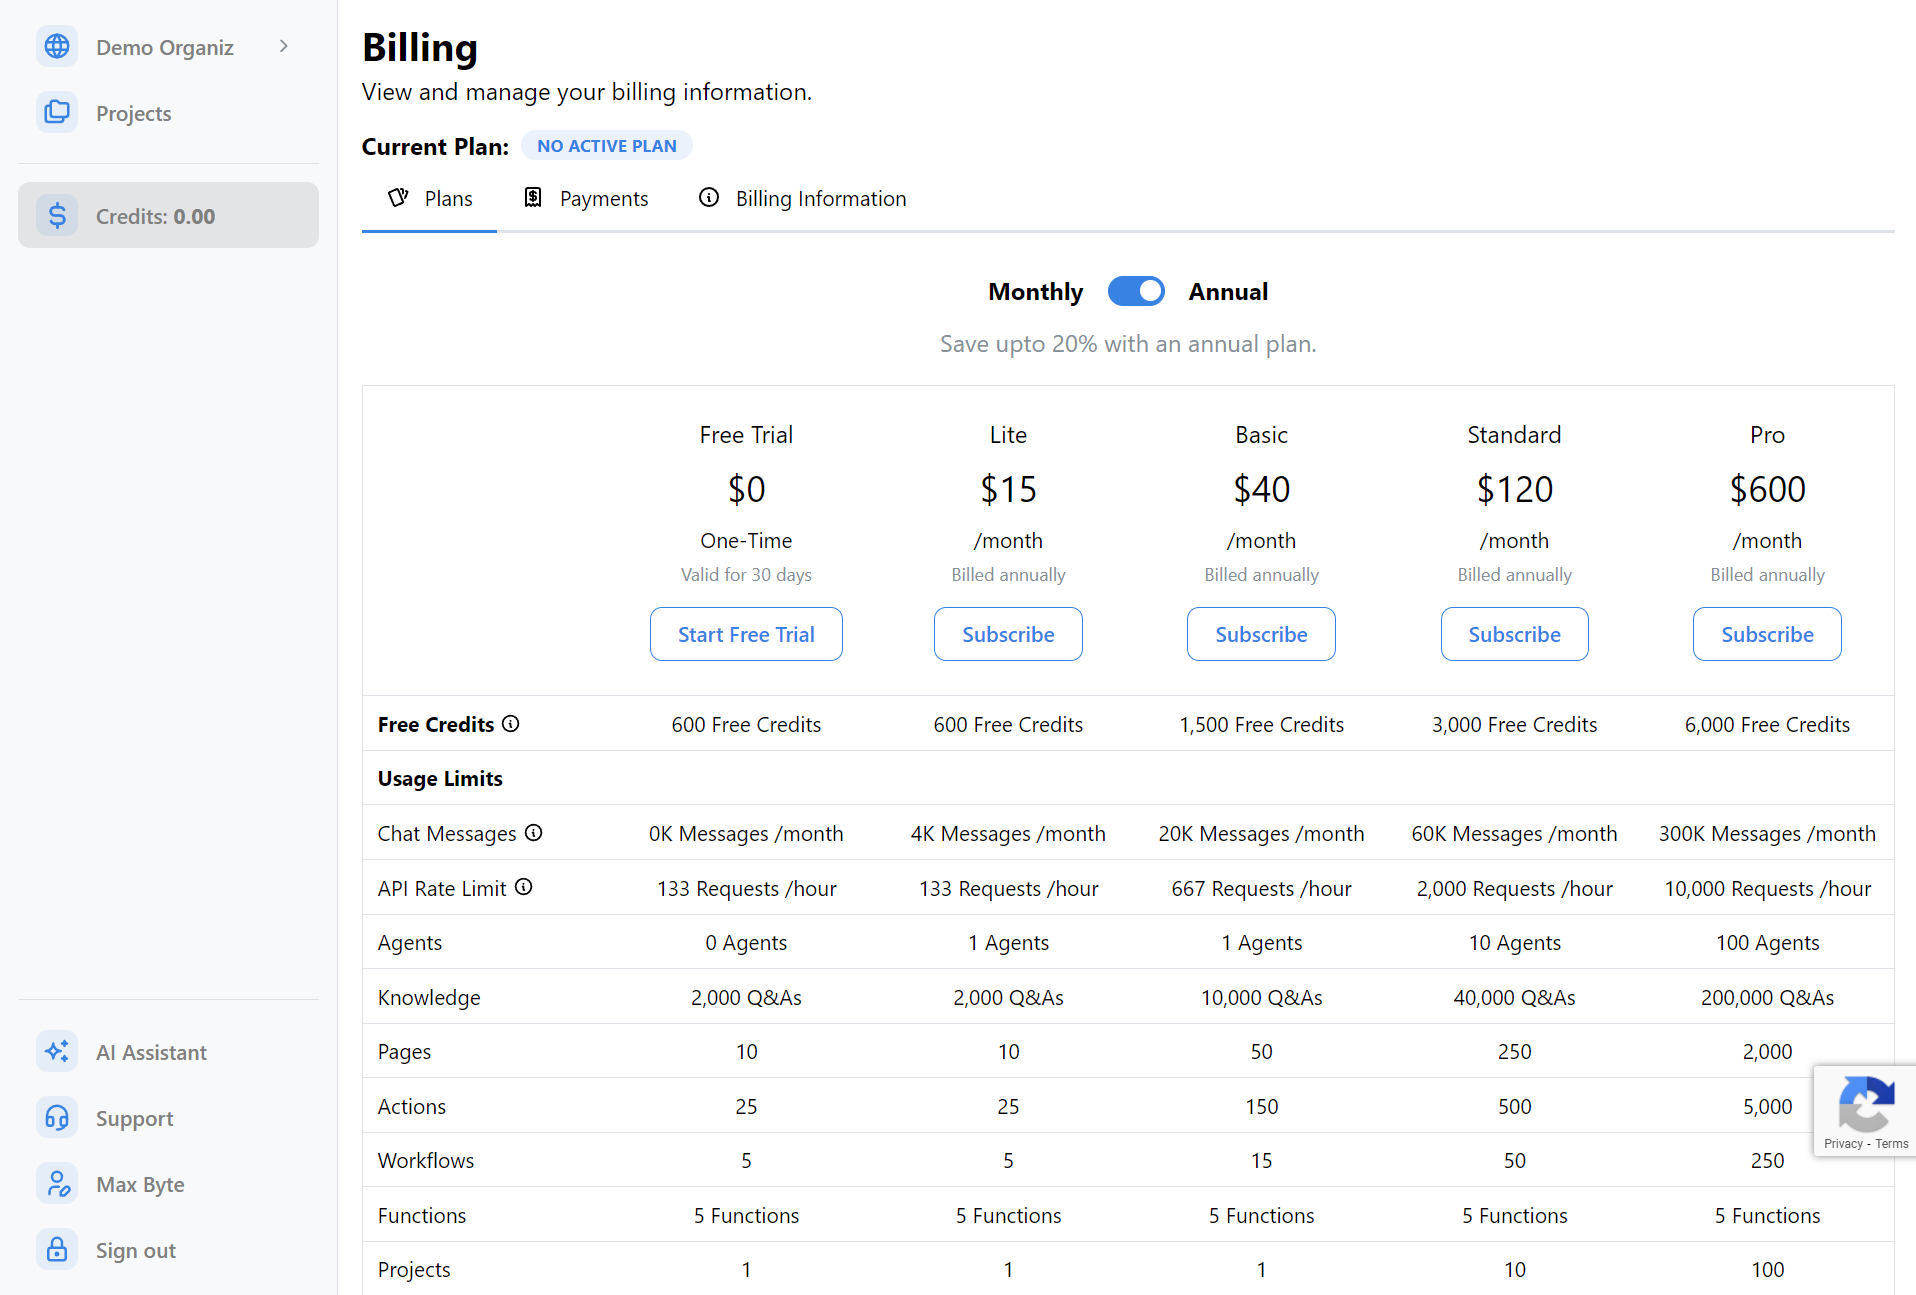
If you see the Billing Page, you've successfully created an organization!
You can see the name of the organization you have selected anytime by looking at the top left corner of your screen.
Switching Between Organizations
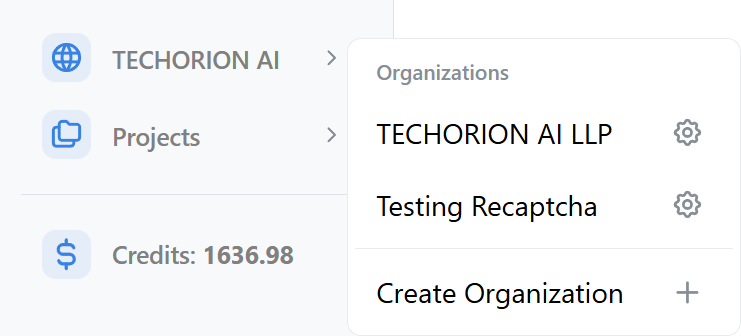
Once signed in, you can switch between organizations at any time by clicking on the Right Arrow button next to the name of the currently selected organization in the top left corner of your screen.
![]()
This will open a dropdown with a list of organizations you are a part of. At the bottom of this dropdown is a button to create a new organization.
Select the organization you want to switch to.
Organization Dashboard
Once you have selected an organization (with an active plan), you can view the organization dashboard at any time by clicking on the name of the organization in the top left corner of your screen.

The organization dashboard has key information about your organization:
- Usage Statistics: On the left, the number of messages used in the last 30 days is displayed. On the right, a chart with a daily breakdown of messages for the last 30 days is displayed.
- Cost Breakdown: A breakdown of credits used across the projects within your organization. Click anywhere on this card to view the individual expenses that led to the costs.
- Limits: A summary of your organization's limits, including the number of messages that can be used in the current billing cycle, agents, projects, versions, knowledge, pages, actions, workflows and functions.