Projects
Projects in Navigable AI serve as the core unit for managing and training your AI assistant. Each project represents a unique application, website, or product you want the AI to understand and assist with. Projects allow you to organize and structure your data, manage versions, and control user access at a granular level.
Create a Project
Only admins can create projects. If you're not an admin, ask your admin to create one.
If you're already on the create project page, you can skip steps 1 & 2.
To create a project, follow these steps:
-
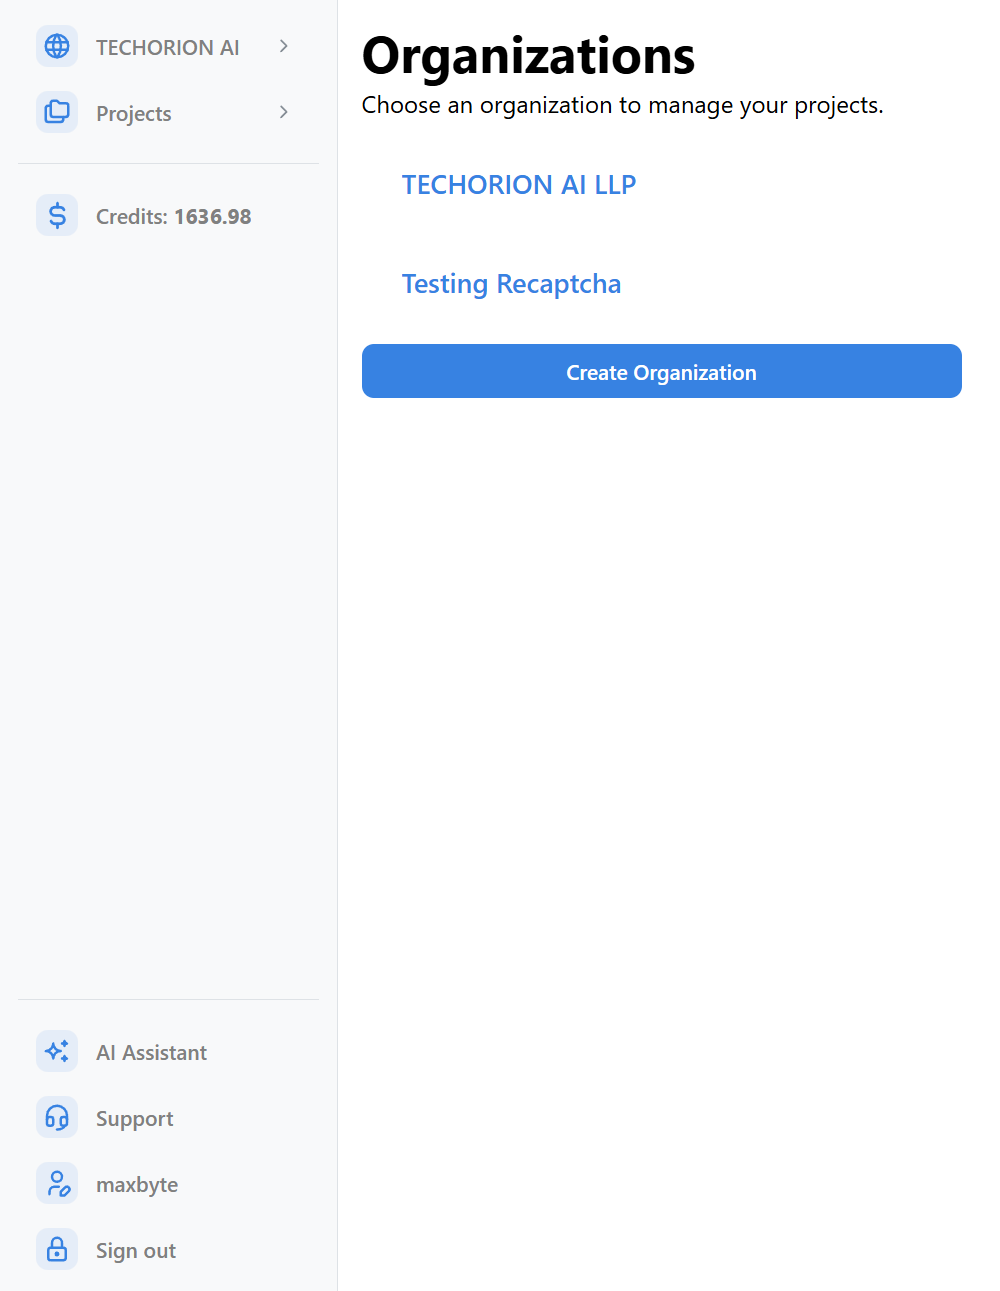
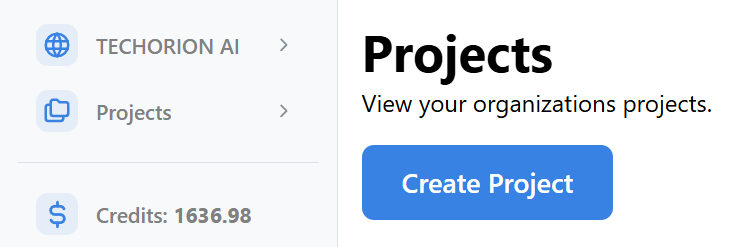
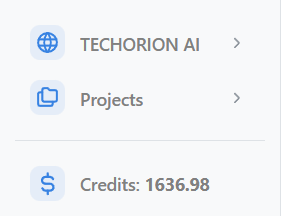
Go to the select project page by clicking on the Projects button in the top left corner of your screen, below the Organizations button. If this button is not visible, click on the Organizations button in the top left corner of your screen and select an organization.
-
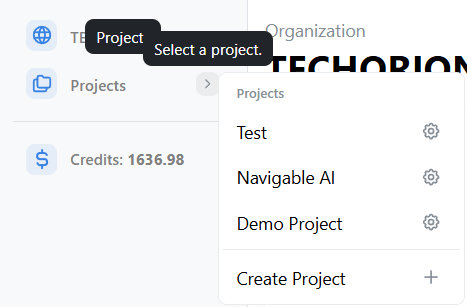
Click on the Create Project Button. This will take you to the create project page.
-
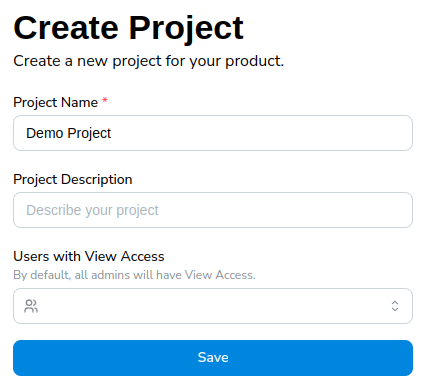
Give your project a name. You can optionally add a description and add users with view access (if you have added them to the organization). You can always change these later in the project settings.
-
Click on the Save button.
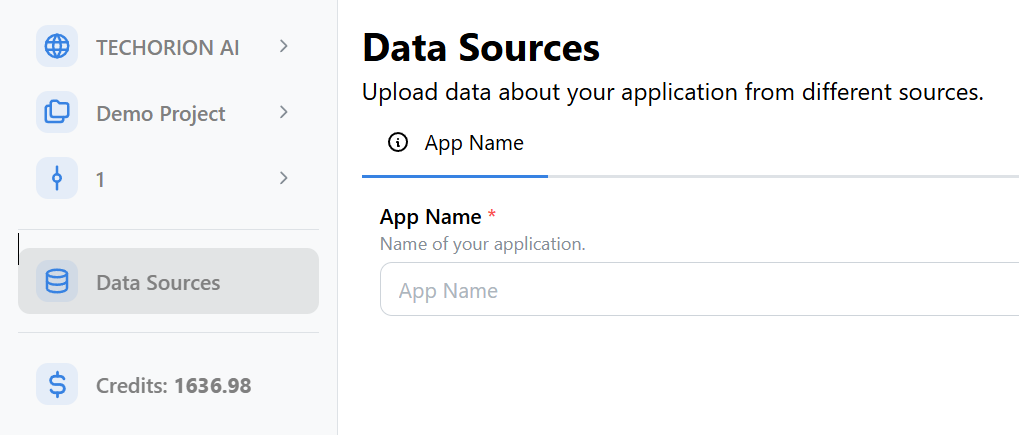
If you're redirected to the Data Sources page, you've successfully created a project!
Switching Between Projects
The button below the organization button in the top left corner of your screen allows you to switch between projects. Clicking on the button takes you to the project list page, where you can select the project you want to switch to.
Alternatively, you can click on the right arrow button next to the project name to open a dropdown with a list of projects you are a part of. Choose a project from the list to switch to it.
Managing Your Project
Navigable provides user access control and version management features to help you manage your project. To learn more, see the Managing Your Project section.